Tag Archives: garden repairs

A Step-by-Step Guide on How to Use Repair Kits for Preformed Molded Ponds Repair Kits for Preformed Molded Ponds: Doing it Yourself

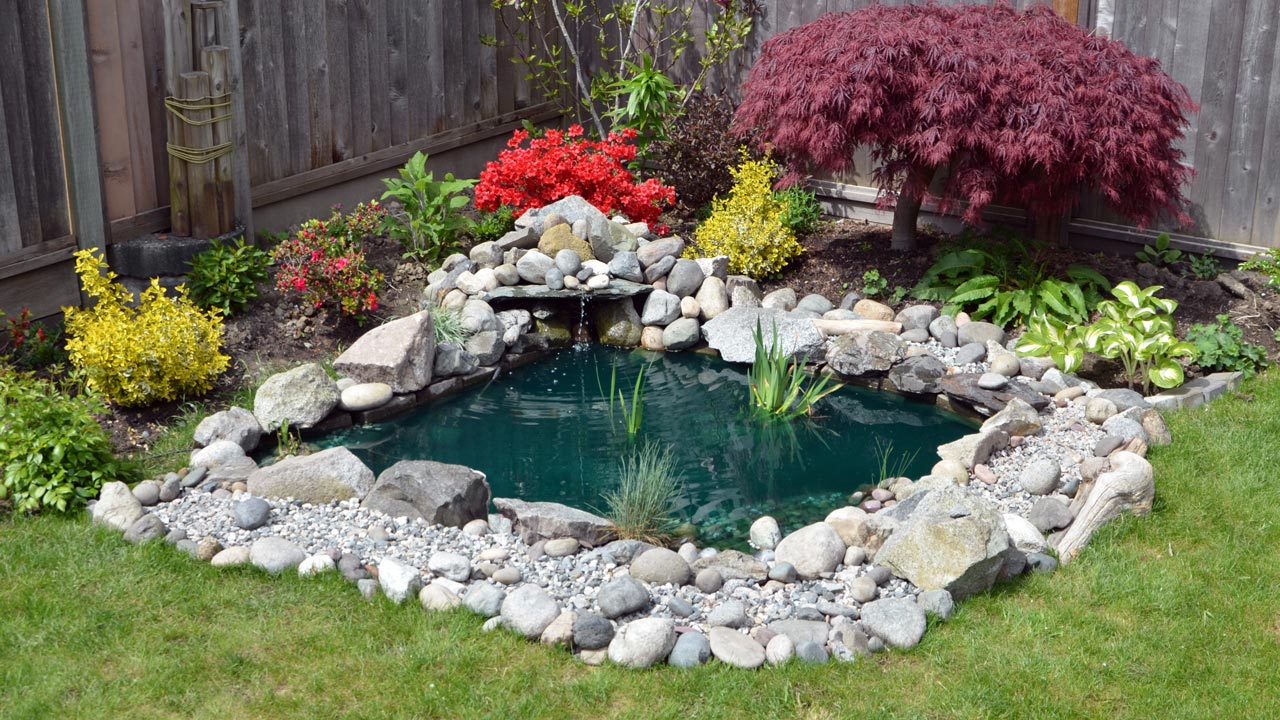
A Step-by-Step Guide on How to Use Repair Kits for Preformed Molded PondsSpecifically, preformed molded ponds utilize butyl rubber liners or plastic liners to establish the shape of a garden pond or even koi ponds. These kinds of garden ponds are typically installed in-ground or above ground and surrounded by concrete, which could deteriorate and crack with time.

Over time, cracks or other damage to the pond liner can cause a decrease in the level of the pond water aside from water evaporation. Don’t worry, you can purchase a pond repair kit for your leaking pond liner.

The following are steps to fix preformed pond problems in your yard using DIY kits.

Step-by-Step Guide: How to Fix Your Preformed Molded Ponds Using Repair Kits

In order to fix a leaking pond liner, you should first make sure it’s the liner and not something else that’s causing the leak. Following the identification of the leak’s cause, it’s time to decide how to fix it.

The following is a step-by-step guide on how to fix molded pond problems using repair kits:

Remove Fishes, Pond Plants, and Drain Your Pond

When you empty your garden pond, fill the holding tank, buckets, or other containers with pond water and remove the pond’s fish, plants, and rocks. This way, they won’t be affected by the falling water level when you drain the pond.

Locate the Leak and Clean the Pond’s Surface

After locating the leak, you may mark the leak’s location in the liner with a grease pencil or other marking tool.

Leaks in preformed liners are often noticeable cracks or tears, but they are hard to locate in shallow ponds. Search for wet spots around the area to find where the leak is.

Apply an Adhesive Compound

If you are using a patch kit that includes an adhesive compound, apply a thin layer around the leak—it is typically epoxy or another adhesive and needs to be set up slightly before the patch can be applied.

This step can be skipped if your patch kit does not contain an adhesive compound.

Use the Patch to Cover the Leak

The patch should be removed from its paper backing if it has one. Cover the leak with the patch, but be sure to avoid air bubbles or wrinkles in it that could further allow water to leak and let the adhesive set fully.

Depending on the bond, this could take up to a few hours or even a day.

Dry Your Pond and Do a Leak Test

When the pond is dry, refill the pond using your garden hose. Check the water level from time to time to see if leaks are still there. The best way to determine if your pond is leaking is to fill it up with water and then check if a leak is still present or if there are wet patches around the pond.

Refill Your Pond with the Fishes, Plants, and Water

Add fish, aquatic plants, or stones you removed earlier back in the pond, and add the water where they were placed to the repaired pond to help the fish adjust. Do not forget your pump and filtration system to protect your backyard pond from dirt and debris, and can prevent algae growth.

Hire Professional Pond Repair Service for Your Needs

When a garden pond liner is damaged or has small holes, you can fix them yourself, but if the hole is large or there is a great deal of damage, you should let professionals replace it with a new liner.

Our team of pond experts at OC Pond Service will help you with any pond liner leaks and garden repairs. We can even recommend a high-quality pond liner for a long-lasting garden pond. We also install a high-quality backyard pond or beautiful water features that create a serene outdoor space for you and your family to enjoy.

To learn more about our services, you may contact us at 949-653-2305 at OC Pond Service today!
A Step-by-Step Guide on How to Use Repair Kits for Preformed Molded Ponds A Step-by-Step Guide on How to Use Repair Kits for Preformed Molded Ponds

A Step-by-Step Guide on How to Use Repair Kits for Preformed Molded PondsSpecifically, preformed molded ponds utilize butyl rubber liners or plastic liners to establish the shape of the pond. This kind of garden pond may be installed in the ground or as a raised concrete pond depending on the design.

Over time, cracks or other damage to the pond liner can cause a sudden decrease in the level of the pond water as well as erode the soil around the leak. Don’t worry, you can purchase a pond repair kit for your leaking pond liner. The following are steps to fix preformed pond problems using a repair patch.

Repairing Leaky Pond Liner Leaks

Before repairing a pond liner, the first thing you should do is be sure it’s the liner leaking and not something else. When you have identified the cause of the leak, the next step is to determine how you will fix it.

You can fix small breaks in a pond liner yourself, but if the hole is large or there is considerable damage to the liner, letting professionals replace it with a new liner is better.

Guide on How to Use Pond Liner Repair Kits

It is important to know the pond liner material first before performing pond liner repair. A rubber liner kit is different from a plastic liner kit. When you discover what you have between these two liners, you will know what type of kit to use.

If you’re confident that you have a damaged pond liner and that you know what material it is made of, you can follow the steps below to fix your pond leak using a pond liner patch:

  1. When you empty your pond, fill the holding tank, buckets, or other containers with pond water and remove the pond’s fish, plants, and rocks. This way, they won’t be affected by the falling water level when you drain the pond.
  2. Pump the water out and let the liner surface dry. Having the water leak out of the damaged liner is one way to empty the pond, but this will significantly take longer and may lead to further soil erosion or damage at the leak site.
  3. After locating the leak, you may mark the leak’s location in the liner with a grease pencil or other marking tool. Leaks in preformed liners are often noticeable cracks or tears, but they are hard to locate in some cases. Search for wet spots around the area to find where the leak is.
  4. To clean the liner, remove dirt, algae, and other potential contaminants from the damaged area by scrubbing it with soap and water or with a solvent cleaner designed for plastic or rubber pond liners. A clean surface is necessary to patch a leaking pond since it helps ensure a better seal when you apply the patch.
  5. Cover the leak with the patch, but be sure to avoid air bubbles or wrinkles in it that could further allow water to leak and let the adhesive set fully. Depending on the bond, this could take up to a few hours or even a day.
  6. When the patch is dry, refill the pond with water. Put any fish, plant, or rocks you removed earlier back in the pond, pouring the water they were kept into the new pond to help the fish adjust. Check the water level from time to time to see if pond leaks are still there.

Need Help With Your Leaking Pond Liners?

Our team of pond experts at OC Pond Fountain Service will help you with any pond liner leaks and garden repairs. We can even recommend a high-quality pond liner for a long-lasting garden pond!

To learn more about our services, you may contact us at 949-653-2305 at OC Pond Fountain Service today!