
Key Takeaways
- A quality preformed pond repair kit includes adhesive compounds and patches specifically designed for rigid pond structures.
- Successful plastic pond repair requires proper drainage, surface cleaning, and allowing adequate curing time for adhesives.
- Professional leak detection involves checking water levels, inspecting for wet spots, and systematically testing different pond sections.
- Whether you have a rubber pond liner or plastic model, using compatible repair materials ensures lasting fixes.
- DIY pond liner repair works well for small holes, but extensive damage requires professional replacement services.
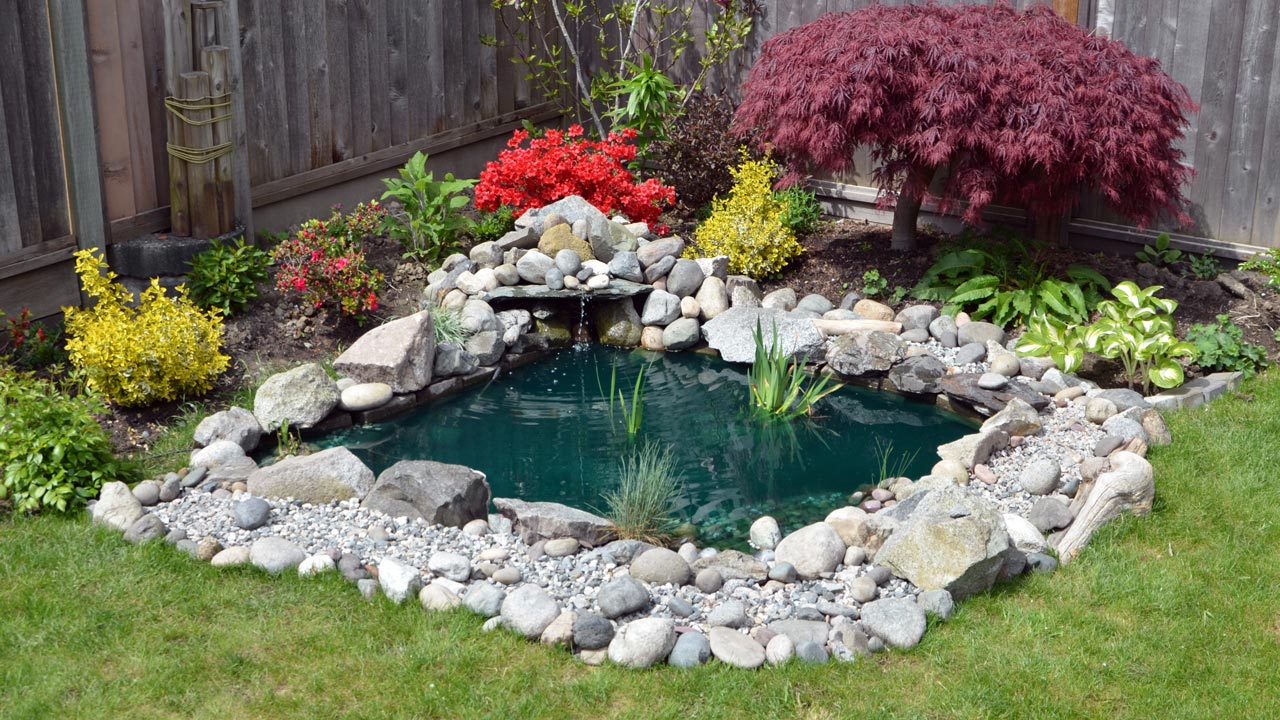
Specifically, preformed molded ponds utilize butyl rubber liners or plastic liners to establish the shape of a garden pond or even koi ponds. These kinds of garden ponds are typically installed in-ground or above ground and surrounded by concrete, which could deteriorate and crack with time. Whether you have a standard rectangular design or kidney shaped pond liner, proper maintenance prevents pond leak issues.
Over time, cracks or other damage to the pond liner can cause a decrease in the level of the pond water aside from water evaporation. Don’t worry, you can purchase a pond repair kit for your leaking pond liner. A quality plastic pond repair kit includes repair patch materials designed for your specific pond liner material.
The following are steps to fix preformed pond problems in your yard using DIY kits.
Step-by-Step Guide: How to Repair a Preformed Plastic Pond
In order to fix a leaking preformed pond liner, you should first make sure it’s the liner and not something else that’s causing the leak. Following the identification of the leak’s cause, it’s time to decide how to fix it. Professional pond leak repair starts with identifying whether flexible liners or rigid structures show damage.
The following is a step-by-step guide on how to fix molded pond problems using preformed pond repair kit:
Remove Fishes, Pond Plants, and Drain Your Pond
When you empty your garden pond, fill the holding tank, buckets, or other containers with pond water and remove the pond’s fish, plants, and rocks. This way, they won’t be affected by the falling water level when you drain the pond. A sudden decrease in water level can stress aquatic life during plastic pond repair procedures.
Locate the Leak and Clean the Pond’s Surface
After locating the leak, you may mark the leak’s location in the liner with a grease pencil or other marking tool. Most pond liner repair kit options include seam tape for reinforcing vulnerable areas around patches.
Leaks in preformed liners are often noticeable cracks or tears, but they are hard to locate in shallow ponds. Search for wet spots around the area to find where the leak is.
Apply an Adhesive Compound
If you are using a patch kit that includes an adhesive compound, apply a thin layer around the leak—it is typically epoxy or another adhesive and needs to be set up slightly before the patch can be applied.
This step can be skipped if your patch kit does not contain an adhesive compound.
Use the Patch to Cover the Leak
The patch should be removed from its paper backing if it has one. Cover the leak with the patch, but be sure to avoid air bubbles or wrinkles in it that could further allow water to leak and let the adhesive set fully.
Depending on the bond, this could take up to a few hours or even a day.
Dry Your Pond and Do a Leak Test
When the pond is dry, refill the pond using your garden hose. Check the water level from time to time to see if leaks are still there. The best way to determine if your pond is leaking is to fill it up with water and then check if a leak is still present or if there are wet patches around the pond.
Refill Your Pond with the Fishes, Plants, and Water
Add fish, aquatic plants, or stones you removed earlier back in the pond, and add the water where they were placed to the repaired pond to help the fish adjust. Do not forget your pump and filtration system to protect your backyard pond from dirt and debris, and can prevent algae growth.
Professional Pond Repair Services for Your Needs
When a garden pond liner is damaged or has small holes, you can fix them yourself, but if the hole is large or there is a great deal of damage, you should let professionals replace it with a new liner. When experiencing considerable damage beyond simple patches, professional installation ensures proper repair.
Our team of pond experts at OC Pond Service will help you with any pond liner leaks and garden repairs. We can even recommend a high-quality pond liner for a long-lasting garden pond. We also install a high-quality backyard pond or beautiful water features that create a serene outdoor space for you and your family to enjoy.
To learn more about our services, you may contact us at 949-653-2305 at OC Pond Service today!
Frequently Asked Questions
Q1. What type of kit should I use for my pond material?
A plastic pond repair kit works for rigid preformed ponds, while flexible ponds need different solutions. Choose the type of kit based on your liner material—rigid plastic requires epoxy-based patches, flexible materials need adhesive-backed patches.
Q2. How to repair a preformed plastic pond with water still inside?
Learning how to repair a preformed plastic pond typically requires complete drainage for proper adhesion. Attempting repairs on a pond with water prevents patches from bonding correctly and usually fails within days.
Q3. Can I use a rubber liner kit on my kidney shaped pond?
A kidney shaped pond liner can use either rubber liner kit materials or plastic options depending on original construction. Match repair materials to your existing liner type for compatible chemical bonding and flexibility.
Q4. Do I need special pond liner repair kit tools for installation?
Most pond liner repair kit packages include necessary tools, though professional-grade repairs might require heat sealing equipment. Basic kits contain patches, adhesive, and cleaning supplies sufficient for typical homeowner repairs.
Q5. When should I hire a pond contractor versus DIY pond leak repair?
For minor pond leak repair under 2 inches, DIY works well. However, hire a pond contractor for multiple tears, seam failures, or when plastic liner kit repairs fail repeatedly. Professionals ensure proper pond liner patch application.